In my previous post, I wrote about the need for testing with an emphasis on the tools used to develop and run tests. This post focuses on actually developing tests.
Developing Tests
Patterns
A well-designed testing pattern will always help to better develop and maintain tests. In order to automate a Salesforce application, tests should find elements, click on buttons or links, write in text areas, or move between tabs and frames in page objects (which are different Java classes).
Good testing patterns encapsulate actual logic of Selenium tests in page objects: modularized reusable methods in a separate class (I called it Util class); separated test data creation in data classes; and create test cases in test classes.
Variables
As mentioned in my previous post, I used spring.xml to launch tests in Sauce Labs vs. my desktop machine. I also used spring.xml to configure test data classes. Why? When I instantiated test data classes in other classes, @Autowired variables resulted in null. My research pointed out that @Autowired variables or classes are singleton. If these variables are used across the class, create a bean definition in spring.xml. Sample Bean definition and instantiation:
|
//Spring.xml <bean id=”playgroups” class=”com.lattice.salesforce.selenium.data.PlayGroupsTestData”/> |
|
//PlayGroupsTest.java PlayGroupsTestData playgroups = (PlayGroupsTestData) applicationContext.getBean(“playgroups”); |
The example Salesforce application that I worked on had tests to re-order fields. Dragging and dropping elements are made easy with the Actions class in Selenium library.
Clean Up
It is always a good practice to delete the test data after each test run. As the tests can create identical data on every run, successive tests may fail because of duplicate records or Sobjects. Selenium tests launch a web browser for all tests so it is advised to quit the browser at the end of each test. I organized this step using @AfterMethod annotation in TestNg. This method is executed after each test.
Fail/Pass
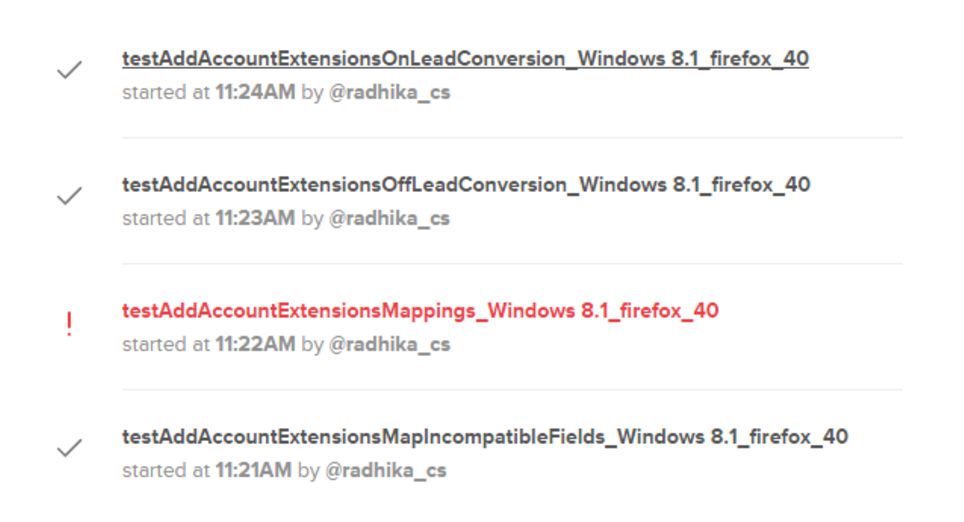
Sauce Labs usually doesn’t show success or failure, it just shows as complete. What you might need to do is add a little logic to show the test as a success or failure if you want to show actual fail/pass. All of these steps are for reporting purposes which can be handled in @AfterMethod method. Tests with the logic I used in Sauce Labs look like the screenshot below:
Mobile
The mobile tests that I created were browser based. Browsers have capabilities to change the user agents to Ipad, Iphone or Android. I created a separate method that defines user agent changes of browser and called it in each test case before actual test runs.
Working with HTML Objects
A crucial part in developing Selenium tests is to locate the selector of the UI element. While automating Salesforce pages, one cannot trust IDs as selectors of UI since pages can be very dynamic and change from Org to Org. Using CSS selectors, XPaths or link texts are the best approaches. XPaths are sometimes slow, but when using dynamic XPaths, Selenium tests run faster. CSS and XPaths both traverse through DOM to find elements. XPaths can walk up the DOM (e.g. from child to parent), whereas CSS can only traverse down the DOM (e.g. from parent to child). CSS and XPaths both accomplish simple to complex tasks with the same sensibility. It is your choice to pick either one of them. I use XPaths and CSS equally to find the UI element.
Life would be very easy just developing tests on Visualforce pages. I worked with developers to create specific IDs for the UI elements in the Visualforce pages. This solved traversing through DOM and finding elements using XPaths or CSS selectors as IDs are the preferred way to find UI elements.
Challenges
Other challenges I encountered while automating salesforce/Visualforce pages include:
- Dynamic display of checkboxes when the mouse is hovered. Checkboxes are only visible if the mouse is hovered on them. After a few trials and sleepless nights, I found a solution using Selenium’s JavaScript executor library or moving mouse (Actions class).
- Capture type ahead fields. Type ahead fields give suggestions when we type something in it. So the dropdown menu in type ahead fields will only be displayed if you click on it. The traditional selection of menu item from drop down wouldn’t work with type ahead fields. Automating these fields involves 3 steps.
- Click or send keys to the text area which displays the drop down menu.
- Click on the drop down menu.
- Click on the drop down item you are looking for.
Another important thing worth mentioning: remember to allow enough wait times between each test step. You don’t want the test to fail because the element is not found or the test step is executed even before the element is loaded.
Conclusion
In this second installation of my blog series, I shared my experiences on how I develop tests for Salesforce applications and also the challenges I encountered. Next week, in the final installment of this blog series, I will share the process I adopted for test data creation and the execution of those tests.